
Starting solids is a huge milestone in your baby's life. Learn all about when you should start your little one on solids and how to make homemade baby food. Making your own baby food at home is nutritious, economical, and a lot easier than you think!
Making baby food at home has become very popular in recent years. Although it may seem intimidating, it's actually really easy to do. All you need is some basic equipment and in a few hours, you can make enough baby food to last for weeks!
Why make homemade baby food?
- It's nutritious. Commercially prepared baby food is sterilized at very high heat to increase shelf life, a process which kills a lot of nutrients and affects flavor and texture. Homemade baby food, on the other hand, retains most of its nutritional value, taste and texture. When you make your own baby food, you control the ingredients- it's all natural, no additives or fillers.
- It's economical. Store-bought baby food can be expensive. You can save money by making large batches of homemade baby food and storing it in the refrigerator or freezer. Most baby food will keep in the refrigerator for 3 days and in the freezer for 3 months.
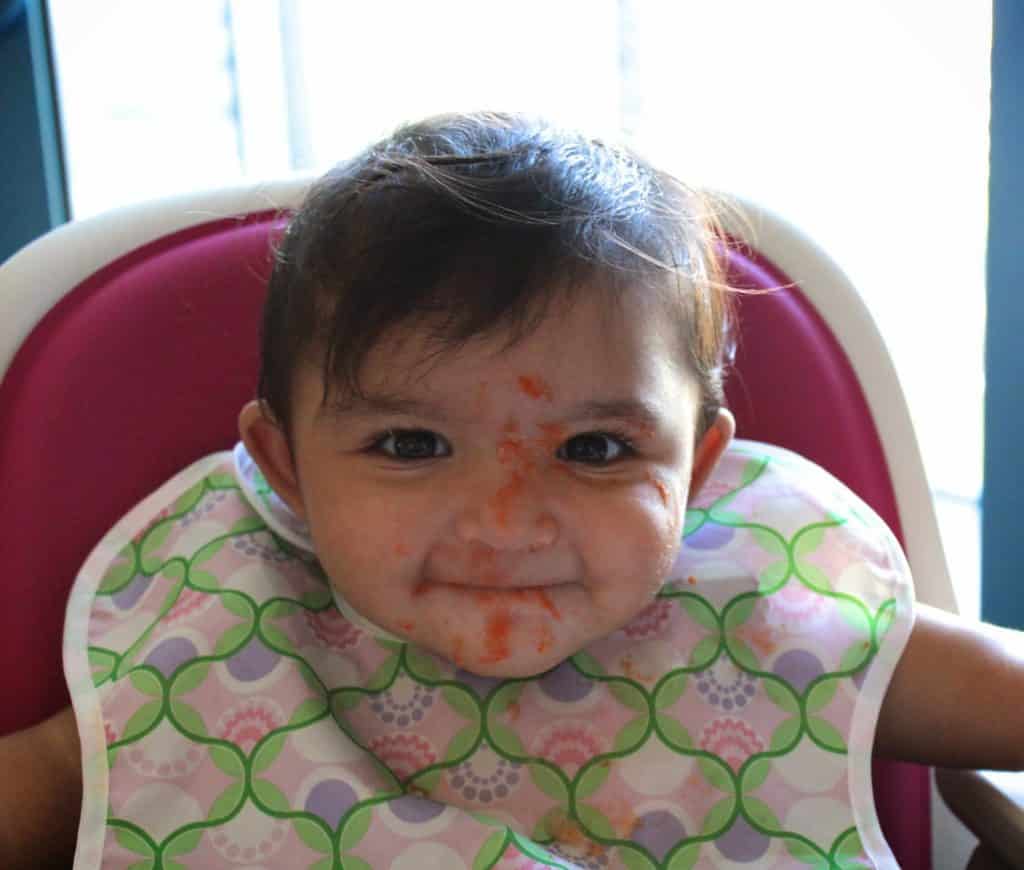
- It will bring out the chef in you and perhaps make your baby a more adventurous eater.When you make your own food, you can create your own yummy combinations and expose your baby to a wide variety of flavors. Sienna loves when I mix apples, kale and sweet potatoes. Another one of her favorite combinations is cherries, pears and Greek yogurt.
When should you introduce solids into your baby's diet?
The American Academy of Pediatrics recommends introducing solids at around 6 months but many people introduce them earlier. The truth is that every baby is different and you should discuss this with your pediatrician. Whenever you do decide to introduce solids, here are a couple of rules of thumb:
- Wash your fruits and vegetables thoroughly. Many parents choose to use organic produce- it's your choice whether you want to use organic or not. One option is to check the Environmental Working Group's website when deciding whether or not to buy organic. They are a non-profit environmental research organization that releases a yearly guide of the fruits and vegetables with the highest and lowest pesticide residues ("Dirty Dozen" and "Clean Fifteen").
- Introduce only one new food at a time for at least 3 days. That way if your baby develops any adverse reactions, you'll know what's causing it.
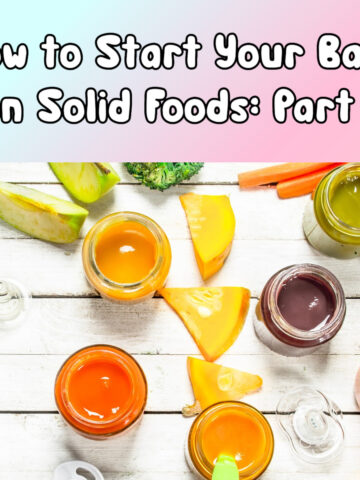
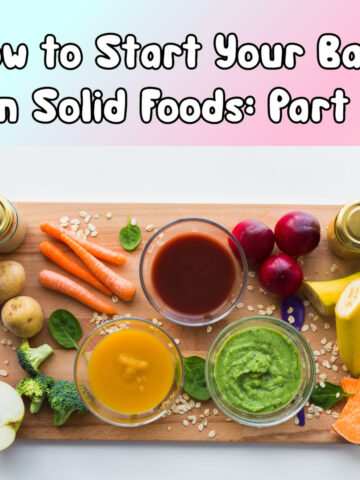
Want to learn more about how to start your baby on solid foods? Read my articles How To Start Your Baby on Solid Foods: Part 1 and Part 2 for more information.
Equipment
All you need to make homemade baby food is a food processor, blender or immersion blender and a steamer (or steamer basket).
There are several varieties of baby food makers available on the market. I received a BEABA baby food maker as a gift when my daughter was born. But the truth is that you don't need one to make baby food.
The advantage of using a baby food maker is that you can steam the food and purée it all in the same canister. But if you don't have one, you can easily steam or roast the food and then transfer it to a food processor to purée it. Or even better, use an immersion blender and save yourself from washing a dish or two.
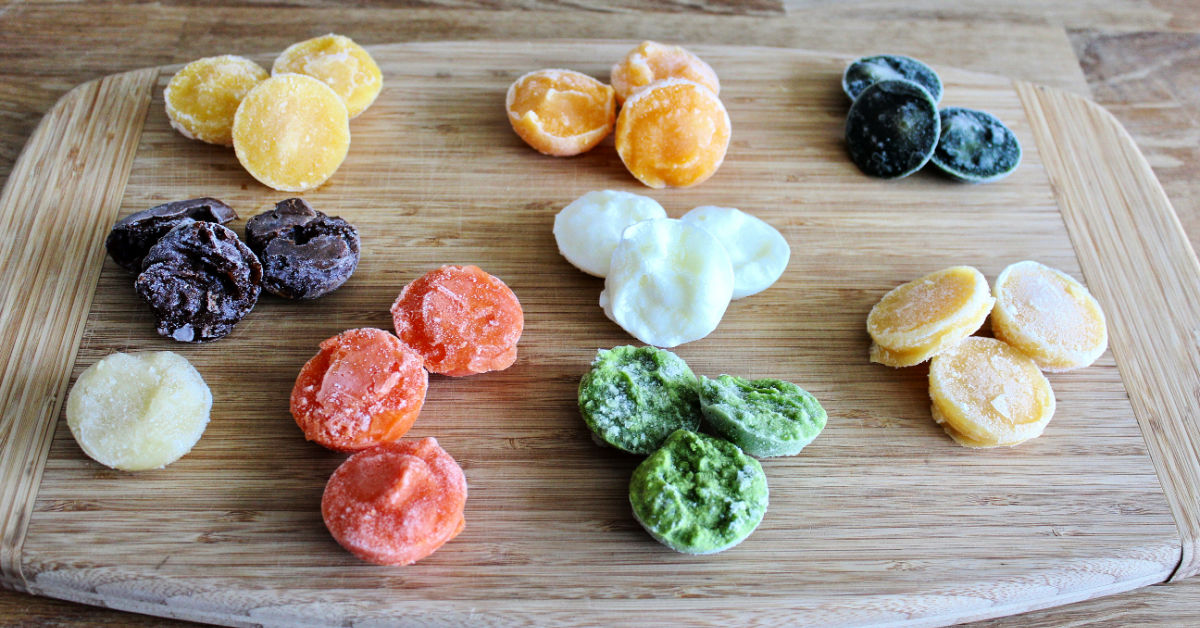 |
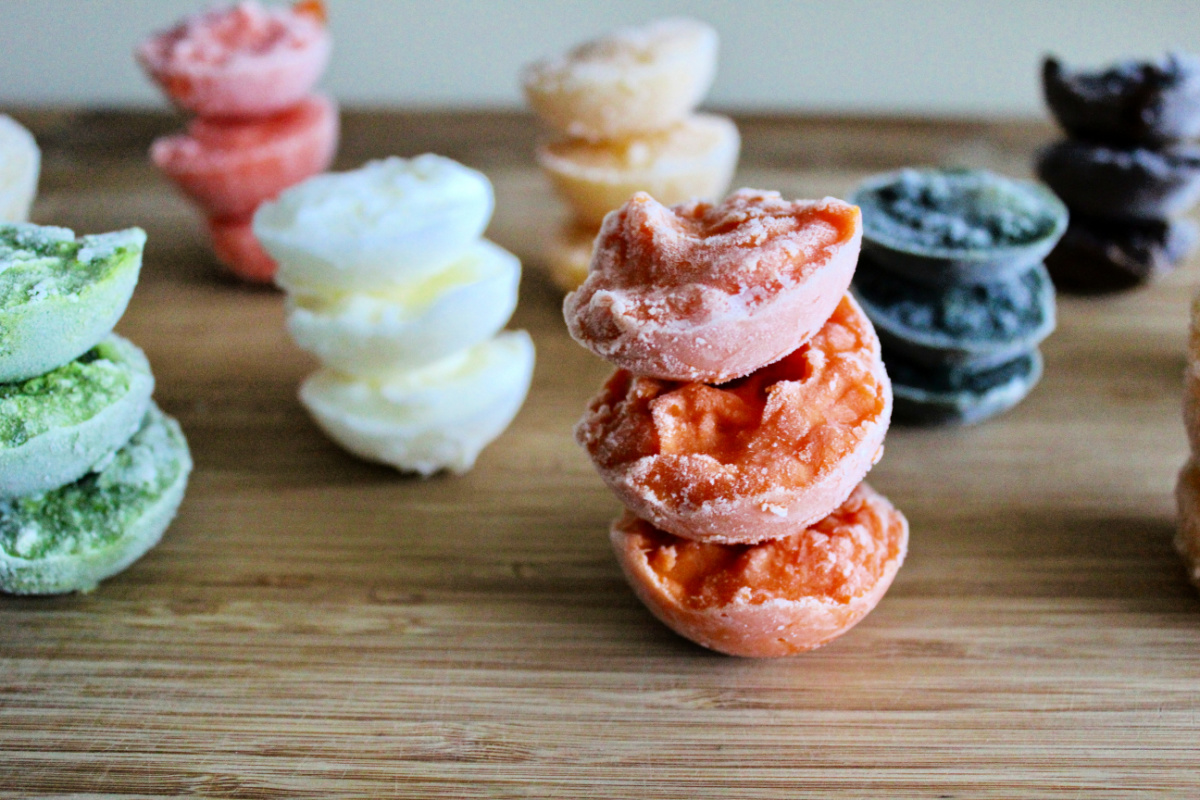
| Top row: carrots, mango and kale. Middle row: prunes and Greek yogurt. Bottom row: pear, sweet potatoes, peas and peaches |
How to make baby food at home
It's simple. Start with a ripe fruit or vegetable (or meat when your baby is a little older). Cook it by lightly steaming, roasting or boiling it. Then puree it, add any seasonings and serve. Done! Not bad, right?
I recommend lightly steaming or roasting your baby food rather than boiling it as a lot of the valuable nutrients can leech into the water with boiling. Many ripe fruits can be pureed without cooking, leaving all of the important nutrients intact.
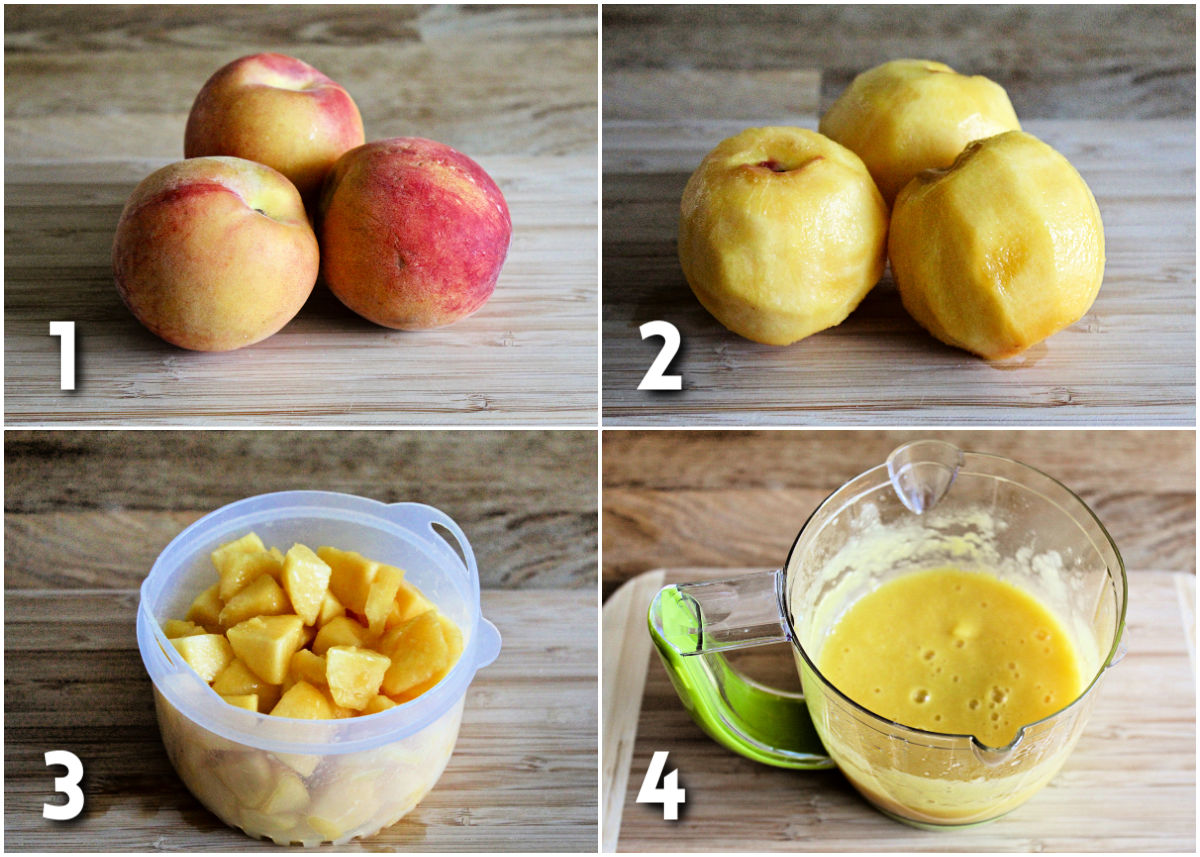
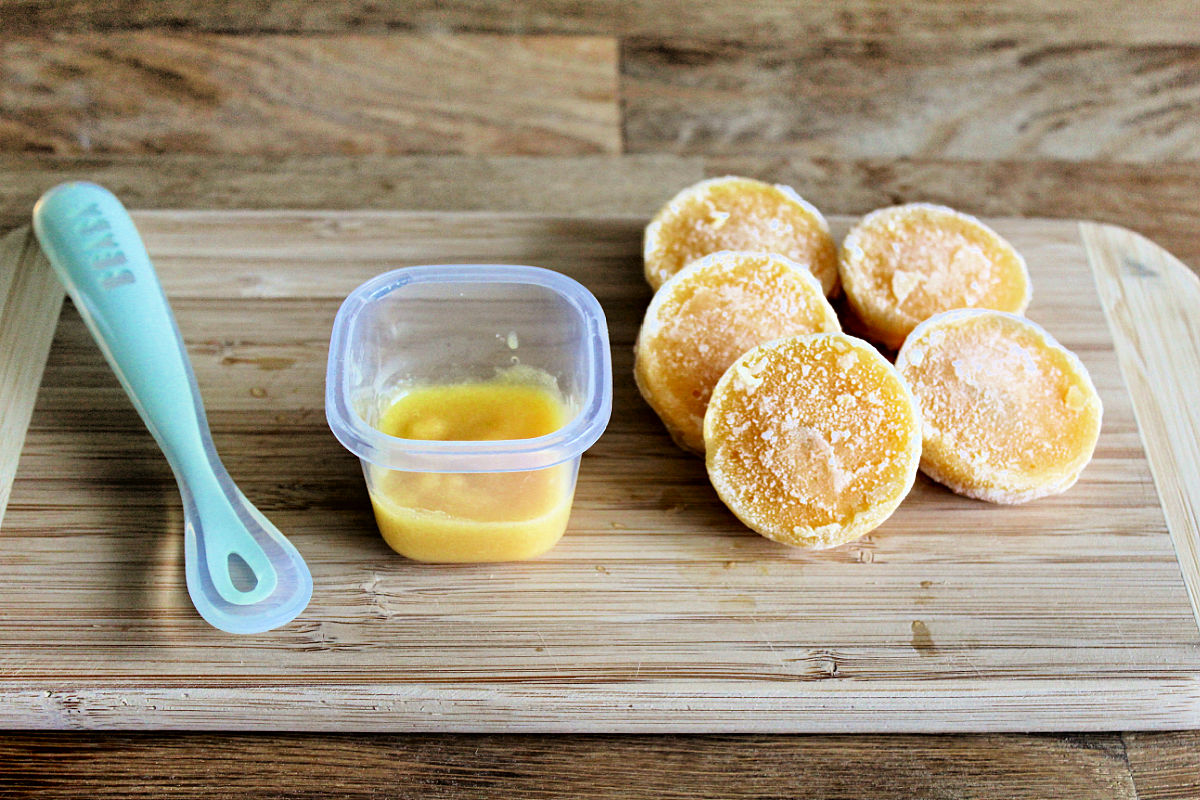
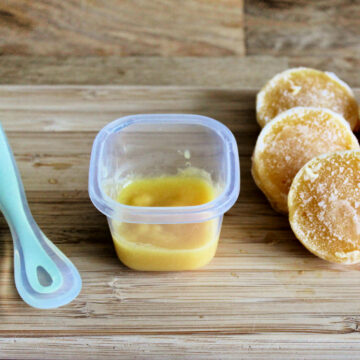
- Step 1- Wash the fruit thoroughly (I'm using peaches in these photos).
- Step 2- Peel the fruit and cut into pieces.
- Step 3- Place the diced fruit in a steamer and steam until tender, 3-5 minutes. If fruit is very ripe and soft, you can skip this step.
- Step 4- Transfer to a food processor or blender. Purée to desired consistency. Alternatively, you can use an immersion blender.
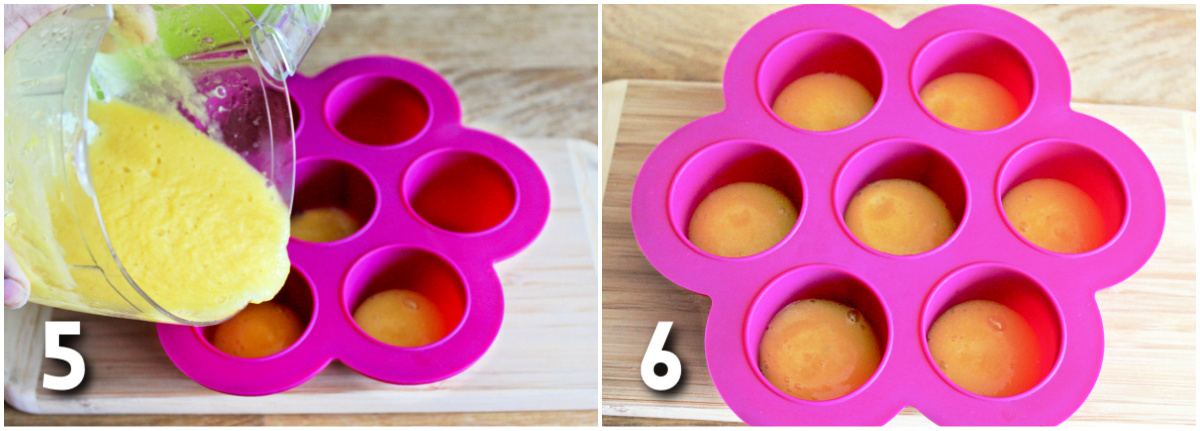
- Step 5- Serve immediately. To store the baby food, pour the purée into individual storage containers or a multi-portion freezer tray.
- Step 6- Cover and refrigerate up to 3 days. If freezing, transfer the purée to multi-portion freezer trays or ice cube trays and freeze up to 3 months.
How to store baby food
Once you make your baby food, you can portion it out and store it in individual BPA-free containers in the refrigerator. If you're freezing your food, transfer the puree into multi-portion freezer trays or ice cube trays and place in the freezer. Then at mealtime you can pop out individual portions and heat them up.
If you're making large amounts of food, you can store the frozen cubes in BPA-free storage bags. I always label the bags with the type of puree and the date so I can keep track of how long they've been in the freezer.
You can be creative when you make your own baby food, mixing and matching different ingredients. And don't be afraid to add herbs and seasonings to your food- it's good to expose babies to a wide range of flavors.
And don't worry if you have any extra baby food- you can use fruit and vegetable purees in lots of other dishes. Fresh fruit purees are delicious stirred into cocktails like bellinis. Frozen portions of fruit puree and Greek yogurt make great additions to a smoothie when you're in a pinch!
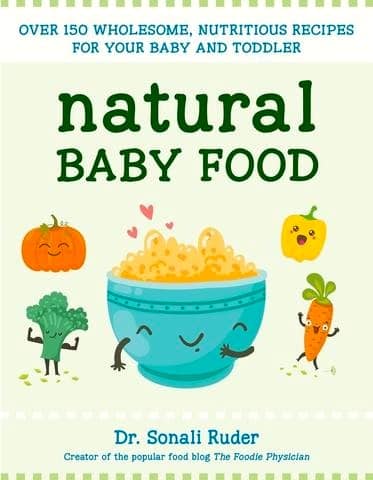
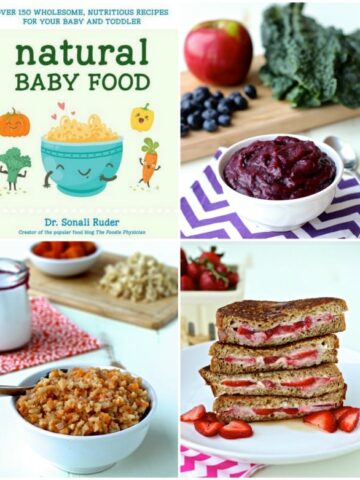
For more information about starting your baby on solids including detailed feeding schedules, get my book Natural Baby Food: 150 Wholesome, Nutritious Recipes For Your Baby and Toddler.
More Baby & Toddler Resources
YOUR PATH TO WELLNESS STARTS HERE!
Get my best healthy recipes and tips sent straight to your inbox!
Recipe
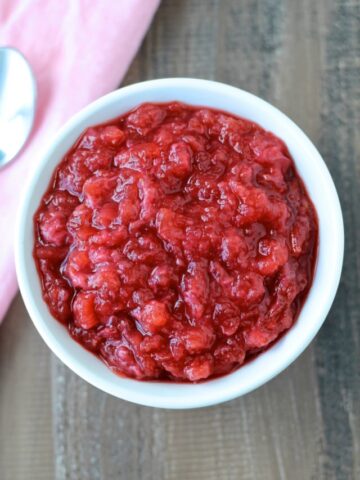
Homemade Peach Baby Food
Equipment
Instructions
- Wash the peaches thoroughly.
- Peel and cut the fruit into pieces. Place in a steamer and steam until tender, 3-5 minutes. Note: If peaches are very ripe and soft, you can skip this step.
- Remove the fruit and transfer to a food processor or blender. Puree to desired consistency. Alternatively, you can use an immersion blender.
- Serve immediately or pour the puree into individual storage containers and refrigerate up to 3 days.
- If freezing, transfer the puree to multi-portion freezer trays or ice cube trays and freeze.
- When you're ready to serve, pop out individual portions, heat and serve. Enjoy!!!
Notes
Nutrition
About the author

Dr. Sonali Ruder
Meet Dr. Sonali Ruder aka The Foodie Physician- ER doctor, chef, culinary creator & mom.


mukherjee says
Love this simple and helpful guide on making homemade baby food! It's always great to know exactly what goes into your baby's meals. Homemade options are not only nutritious but also cost-effective. Also, for anyone looking for top-notch neuro and spine care in Raipur, check out Best neuro and spine clinic in Raipur . and dr.amit mukherjee . It's always good to prioritize both nutrition and health for the little ones!
John Tilan says
Wow. Thank you so much for these wonderful tips and content. Gotta try these for my baby
Dr. Sonali Ruder says
My pleasure! Let me know how it goes! 🙂
JennSFO says
LOVE IT! i've been making food for maddie this whole time (using the Beaba) and I was amazed at how little time it takes. Thanks for including this
sonaliruder says
Thanks, Jenn! Maddie's a lucky girl 🙂
ur says
what a beautiful presentation of preparing and long term preservation of baby food. Never had this when my kids were small. It is worth the initial investment of time for a working mother. Easy to take out portions and defrost as needed. Sienna is beautiful. Bet she loves to eat your home made food.
sonaliruder says
Thanks, ur! Yes, I definitely think it's been worth the initial investment of time. It's just as easy to defrost my homemade baby food as it is to open a jar!
Carrie Farias says
I love this post and the picture of Sienna, she's too cute! I used to make my own baby food (long ago!) for both of my girls and can probably count on one hand where they ate jarred food; though I never thought of preparing it ahead in batches and freezing it. GREAT Idea!
sonaliruder says
Thanks, Carrie! Having baby food in the freezer has saved me more than once on busy weeknights!